How to Install Facade Cassettes Correctly – A Step-by-Step Guide
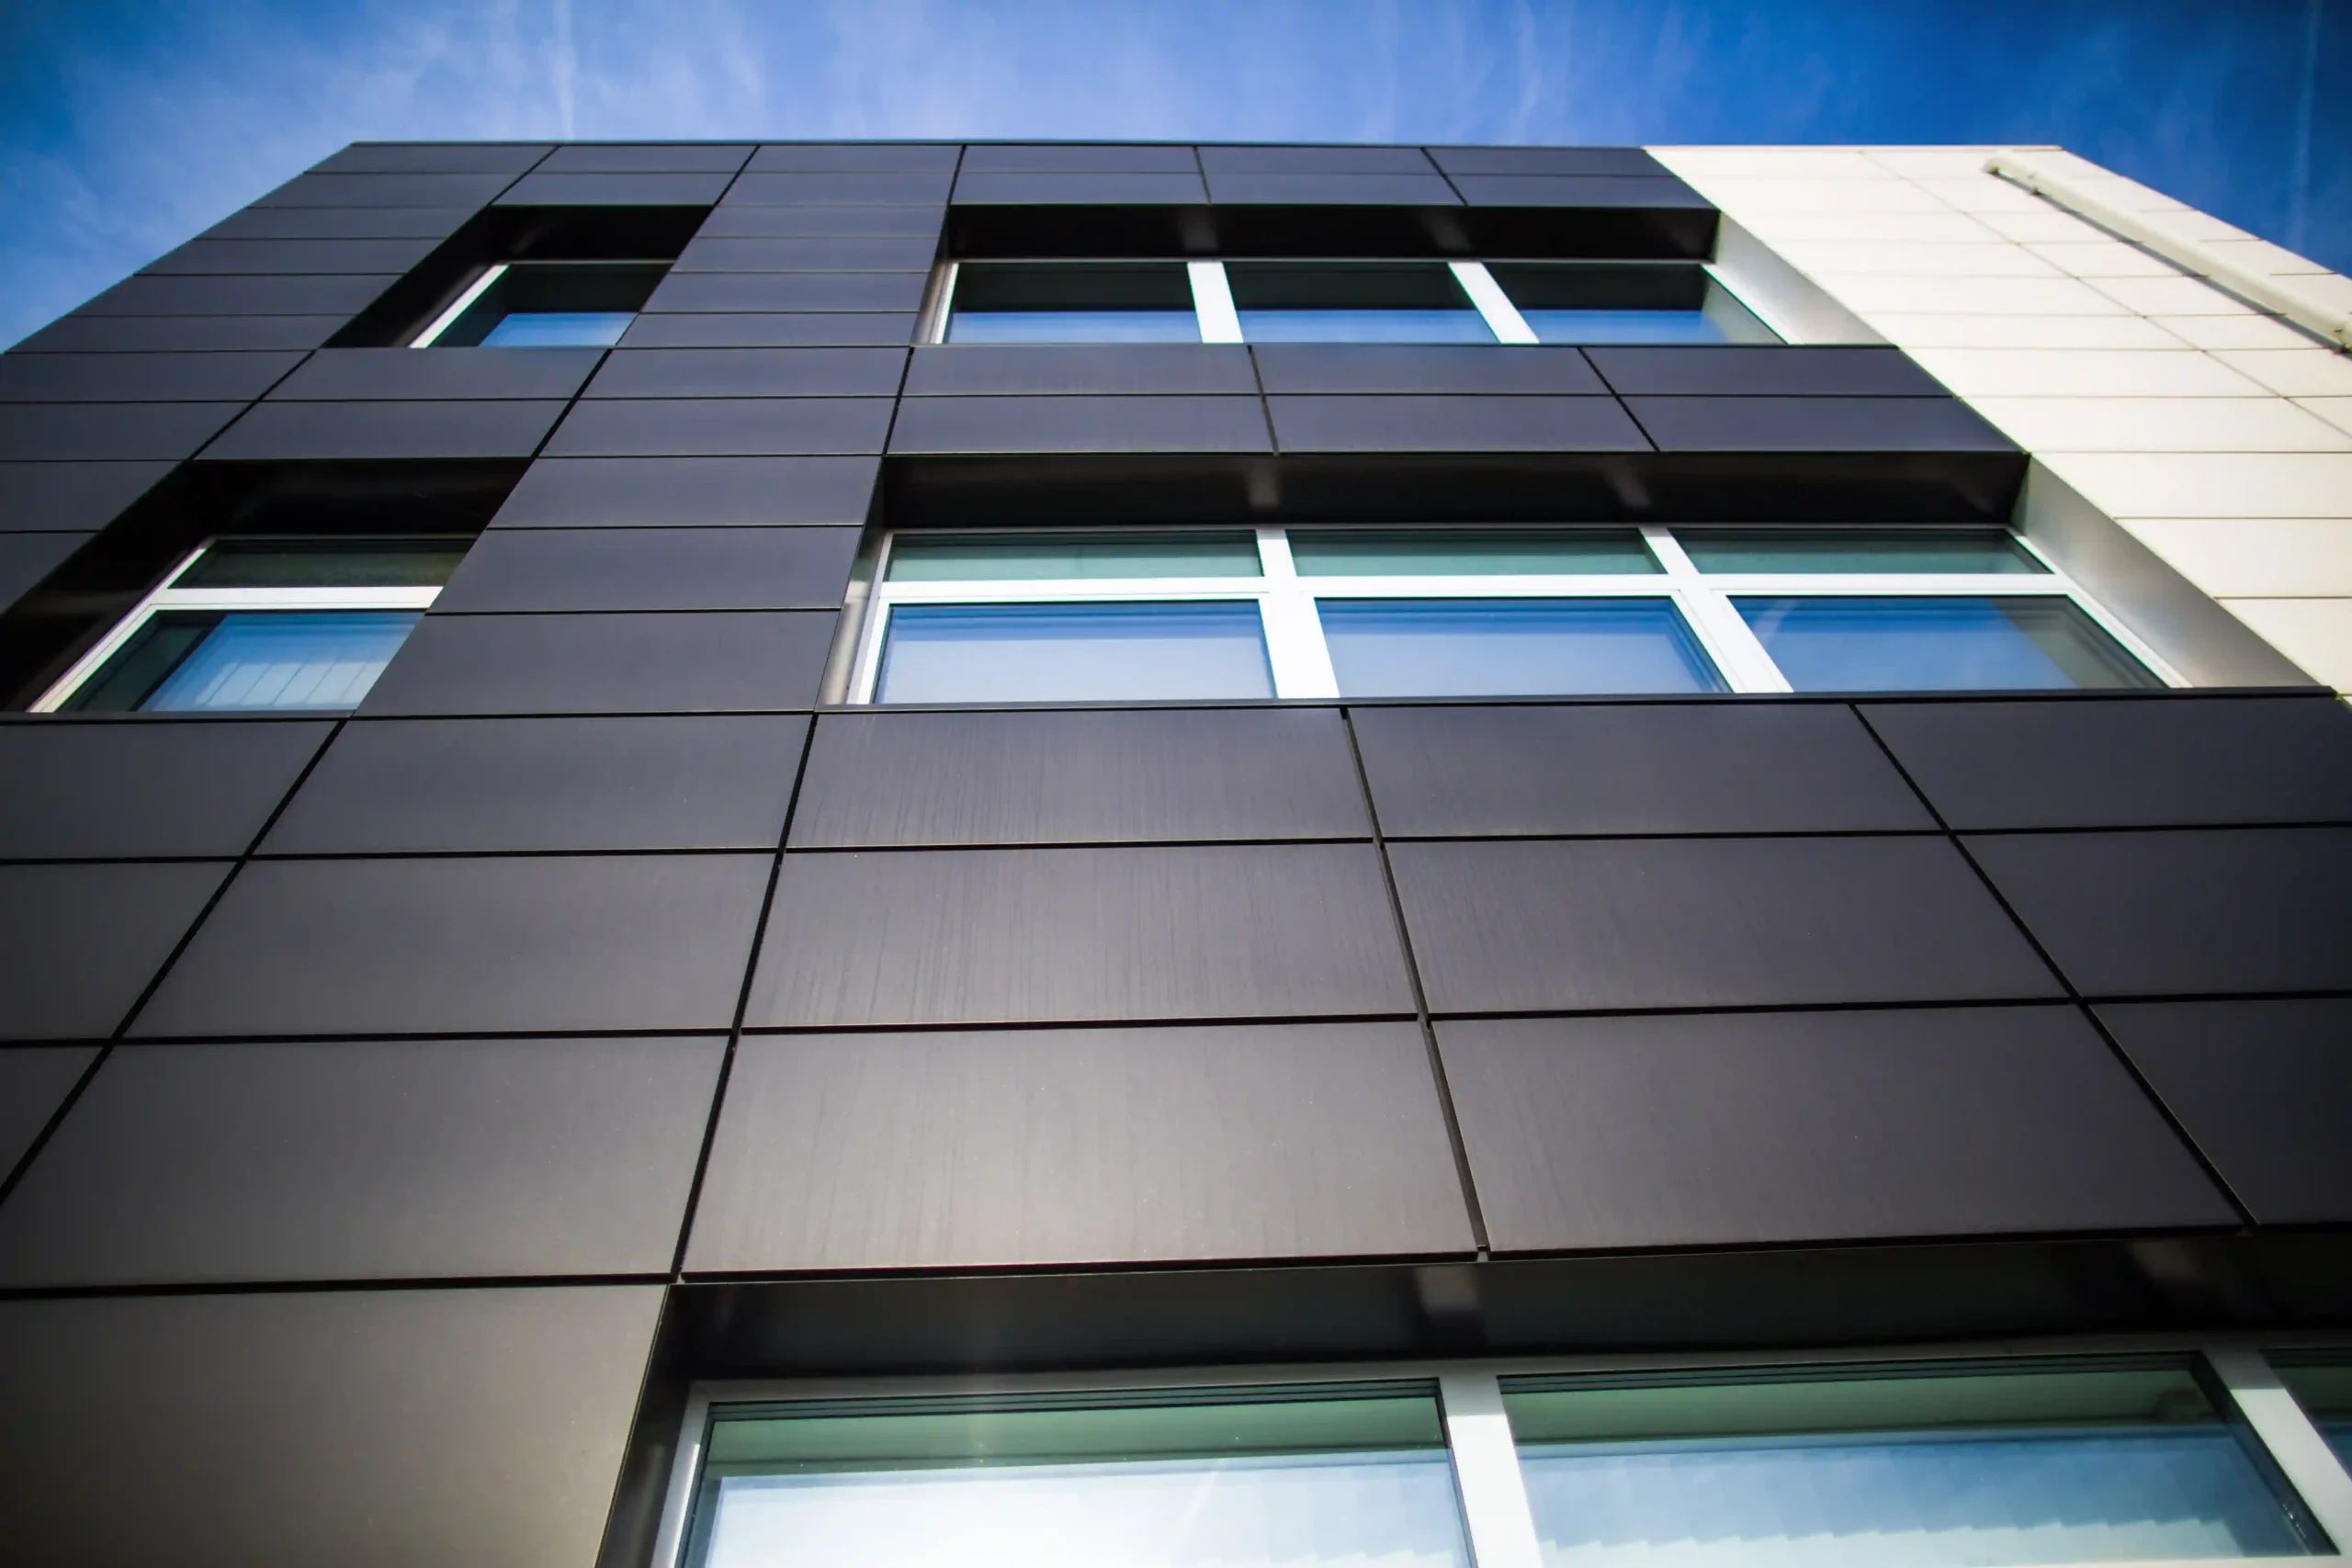
Facade cassettes are a modern system for finishing the exterior walls of buildings, characterised by a minimalist, geometric form. They are usually made of galvanised steel sheet or coated aluminium, making them resistant to weather conditions and mechanical damage. For the facade to retain its aesthetics and durability, the installation of facade cassettes must be carried out in accordance with design guidelines and technical principles. Below we describe the key stages of facade cassette installation and best practices for investors and contractors.
Preparing the Facade and the Supporting Substructure
Before installing the cassettes, the substrate and load-bearing structure (substructure) must be carefully inspected and prepared. The dimensioning of the facade must account for both vertical and horizontal expansion joints between the panels. The standard mounting gap width is approximately 20 mm, which ensures adequate expansion and the grid effect of the cassettes. The design must also include all sheet metal work around window openings, doors and wall corners. The supporting substructure (most commonly made of steel or aluminium profiles) is mounted to the building wall using anchors and bolts. Precise levelling and stabilisation of each frame element is essential. A solid, system substructure enables accurate positioning of the cassettes in accordance with the design, and additional stiffeners allow the appropriate distance for thermal insulation (mineral wool, polystyrene) to be maintained.
Installing Facade Cassettes – Step by Step
1. Setting the Starter Profile
At the very bottom of the facade, a starter strip or starter profile is installed on which the first cassettes will rest. This profile must be levelled in two axes – vertical and horizontal – because the accuracy of its installation determines the final geometry of the entire facade.
2. Installing the First Row of Cassettes
The first cassettes are placed on the starter profile. Panels are laid from bottom to top – each subsequent element slides onto the one already fixed below. During installation, a spirit level should be used to check that each cassette is exactly horizontal. They are then screwed with self-drilling screws to the pre-prepared supporting substructure of the OMEGA or C type, depending on the design requirements.
3. Installing Subsequent Rows
Subsequent elements are installed analogously, laying panels one above the other while maintaining the designed spacing. The facade cassette mounting system means that assembling the individual rows resembles stacking building blocks. A constant distance of approximately 20 mm between panels must be maintained both vertically and horizontally, which ensures the effect of a regular grid and adequate facade expansion. The vertical and horizontal alignment of the entire facade should be checked regularly, e.g. using a laser level.
4. Fastening and Stabilisation
After positioning the cassette, the screws are tightened. Typically, 3–4 screws per panel are used, placed at the corners and in the central part of the upper edge. The screws should have rubber or EPDM sealing washers to eliminate the risk of leaks. Each screw should be tightened to the point where the washer is flush, but without deforming the sheet.
5. Adjustments and Checks
After fixing each row of panels, the correct positioning of the cassettes should be checked again – not just the individual element, but the entire facade. If necessary, the position of the panels or gaps can be gently adjusted. Corner cassettes and finishing trims must be installed immediately at corners, ensuring continuity of gaps. After installation is complete, the protective film is removed from the panel surfaces and the facade is cleaned in preparation for inspection.
Common Errors and Best Practices
- Inaccurate levelling of the substructure – lack of vertical or horizontal alignment of the support will cause the entire facade to be crooked. A laser level and mounting wedges should be used, especially when installing the first panel.
- Too few screws – a too-sparse fixing grid (e.g. missing the middle screw on a large panel) can lead to the cassette bulging under the influence of wind. Each panel must have at least several fixing points, distributed symmetrically.
- Over-tightening screws – a screw tightened too firmly can easily damage the coating or the sheet itself. Tighten to the point the washer is flush, but without excessive force.
- Coating damage – it is easy to scratch the steel or aluminium coating during drilling and installation. Before installation, it is worth protecting the cut areas, and cassettes should be installed wearing protective gloves. Any paint damage should be sealed with ready-made repair kits.
- No expansion gaps – installing cassettes “flush” instead of with the required mounting clearance prevents thermal movement and can cause loud deformation. The gaps specified in the design (approx. 20 mm) must always be maintained.
Quality Control and Standards
Every project should take into account the specific characteristics of the building and the requirements of applicable standards. Compliance with standards and possession of a CE declaration often form the basis for authorising facade cassettes for use. At the end of the works, an inspection is carried out: the geometric alignment of the panels, the tightness of the connections and compliance with the technical documentation are all checked. By following the above principles and best practices, cassette installation will be fast and effective, and the facade will remain aesthetically pleasing and durable for years to come.